
Best DIY Polygel Nail Kits for Beginner
Explore the best DIY polygel nail kits for beginners. Get beautiful nails without the salon price tag!
NAILSBEAUTY
8/1/20247 min read
Best DIY Polygel Kit for Beginners
If you’re passionate about nail art like I am, then DIY Polygel nails are about to become your new obsession. These DIY polygel nail kits, along with gel nail polish, are an absolute game-changer, offering endless possibilities for creativity and style. I know, the idea of diving into the world of Polygel might seem a bit intimidating, especially if you’re just starting. But trust me, with the right kit and a little practice, you’ll be crafting salon-quality nails right from the comfort of your home. In this blog post, I’ll walk you through everything you need to know about Polygel, from choosing the best kits to the step-by-step process of applying them. Let’s get started!
What are Polygel Nails?
Polygel nails are a revolutionary type of nail enhancement that combines the best of both worlds: the strength of acrylics and the flexibility of gels. This gel-acrylic hybrid formula is perfect for sculpting, filling in, or extending your natural nails. Unlike traditional acrylic nails, Polygel nails are lighter and more comfortable to wear, making them a popular choice for those who want a durable, high-gloss finish without compromising the health of their natural nails. Whether you’re looking to create intricate nail art or simply want a long-lasting manicure, Polygel nails offer endless possibilities for self-expression and style.
Polygel is a hybrid between hard gel and acrylic, offering the strength of acrylics and the flexibility of gels. It’s lighter than both, making it comfortable to wear. Unlike acrylic, which requires mixing a liquid and powder, Polygel comes pre-mixed in a tube. It doesn’t harden until cured under a nail UV LED lamp, giving you ample time to perfect your application. Speaking of the UV lamp, I can’t wait to introduce my favourite one:
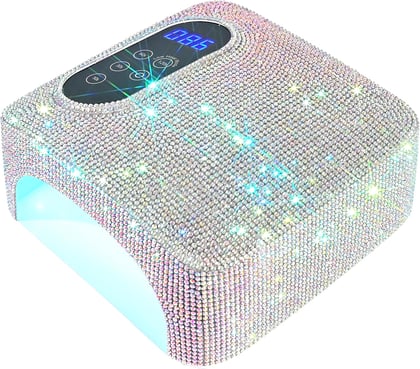
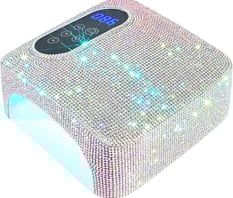
This rechargeable nail dryer is not only powerful and efficient with its 4 timer settings and sensor, but it's also a visual delight. The sparkling diamond-like design adds a touch of luxury and sophistication, making it a joy to use. Every time I sit down to do my nails, the elegant shine of this lamp elevates the entire experience, making at-home manicures feel like a special treat. It's perfect for both home and salon use, and its portability means you can take your nail art skills anywhere. This lamp not only dries nails quickly and thoroughly but also lifts my spirits with its beautiful, glamorous appearance.
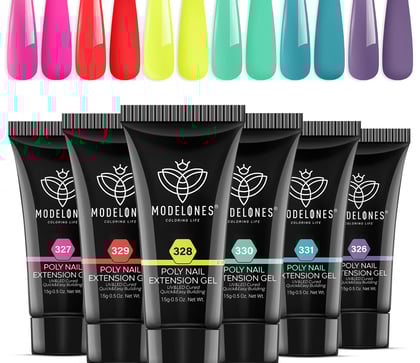
You’ll also need Polygel, obvs. Choosing the right kit is crucial for a smooth experience. Here are some of my top picks:

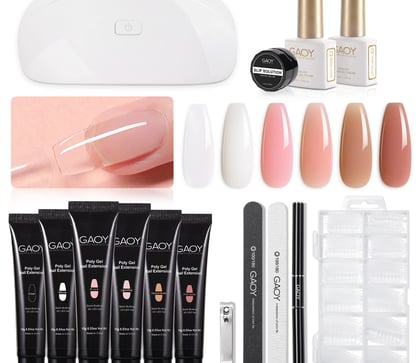
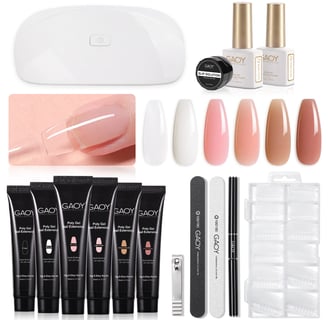
Tools You'll Need:
Polygel nail kit
Dual forms or nail tips
Slip solution or an alternative (rubbing alcohol works)
UV/LED nail lamp
Nail file and buffer
Base coat and top coat
How to do Polygel Nails at Home
Prep Your Nails: lightly buff your nails. This ensures better adhesion of the Polygel.
Apply Base Coat: Apply a thin layer of base coat to your natural nails and cure under the UV/LED lamp.
Choose Your Form: Select a dual form or nail tip that fits your natural nail size.
Apply Polygel: Squeeze a small amount of Polygel onto the dual form or nail tip. Dip your brush in the slip solution and smooth the Polygel, shaping it as desired.
Apply to Nail: Gently press the form onto your nail and cure under the UV/LED lamp for 60 seconds.
Remove Form: Carefully remove the dual form. If you're using nail tips, you can skip this step.
Shape and File: Use a nail file to shape your nails as desired. Buff the surface for a smooth finish.
Apply Top Coat: Apply a top coat to seal your nails and cure under the lamp for 60 seconds.
Finish: Wipe off any sticky residue with a lint-free wipe soaked in alcohol. Your Polygel nails are ready!
Step-by-Step Instructions:
Troubleshooting Common Issues and FAQS
Are Polygel Nails Safe?
Yes, Polygel nails are safe when applied and removed correctly. They are less likely to damage your natural nails compared to other enhancements. As it is free from harmful chemicals such as methacrylate and formaldehyde. Additionally, it is safer to use since it contains no solvents. Polygel is also gentler on natural nails, as it does not remove any of your nail bed as acrylic does.
Gel Nails vs Acrylic Nails
The main difference between gel and acrylic nails is that the gel nails are cured underneath a UV light, which usually leads to a smoother finish and less odor. Acrylic nails are made by mixing a liquid and a powder that harden when exposed to air, resulting in a stronger but flexible finish. The filing process for gel nails is relatively easy and simple.
How long does Polygel last
Polygel nails generally last between 2 to 4 weeks, similar to gel and acrylic nails. Their longevity can depend on factors such as the quality of the application, your nail growth rate, and how well you maintain them. With proper care and maintenance, some people may find that their Polygel nails can last even longer before needing a fill or touch-up.
Why Is my Polygel not Sticking to my Nail
This could be due to oily nail beds or not prepping the nail surface properly. Make sure to buff and clean your nails thoroughly.
Slip Solution Alternatives
If you run out of slip solution, many nail cleansers that contain alcohol can serve as an alternative. Acetone can also work in a pinch, but it's not ideal due to its stronger chemical properties. Use acetone sparingly to avoid over-drying your skin and nails.
Why are my Gel Nails Sticky
Sticky gel nails after UV polish may occur if not cured for the recommended time or if the top coat hasn’t been properly cured. Ensure thorough curing under the UV light to prevent stickiness.


My Final Thought
DIY Polygel nails are a fantastic way to achieve beautiful, long-lasting manicures at home. With the right tools and techniques, you can create a wide range of looks, from simple and elegant to bold and creative. Don't be afraid to experiment and find what works best for you. Happy nail art-ing!
How to Remove Polygel Nails
File Down the Top Layer: Start by gently filing down the top layer of your Polygel nails. This will remove the shiny top coat and allow the acetone to penetrate more effectively. Be careful not to file your natural nails.
Prepare the Foil Wraps: If you're using foil wraps, soak the cotton pads in acetone. If not, soak cotton balls in acetone and place them on your nails. Then, wrap your fingertips in small squares of aluminum foil to hold the cotton in place.
Soak Your Nails: Let your nails soak for about 15-20 minutes. This will soften the Polygel, making it easier to remove.
Remove the Polygel: After soaking, gently remove the foil and cotton. Use a cuticle pusher or orange stick to gently push off the softened Polygel. Do not force it; if it doesn't come off easily, soak your nails for a few more minutes.
Buff and Clean Up: Once the Polygel is removed, gently buff your natural nails to remove any residue. Be careful not to over-buff, as this can weaken your nails.
Moisturize: After the removal process, wash your hands and moisturize them well. Apply cuticle oil or Bio-Oil skincare body oil to nourish your nails and cuticles.
Disclaimer: As an Amazon Associate and affiliate for other brands, I earn from qualifying purchases.
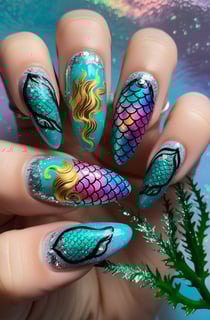
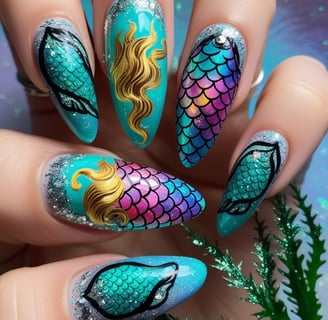
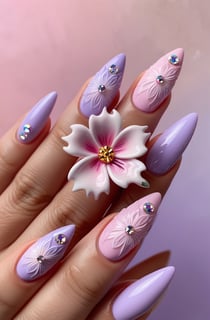
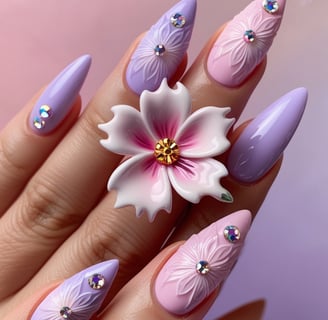
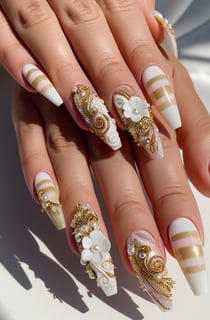
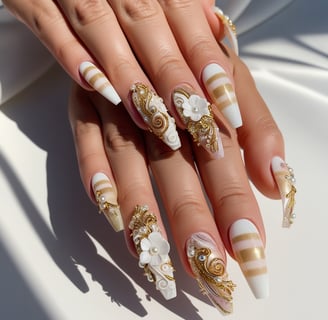
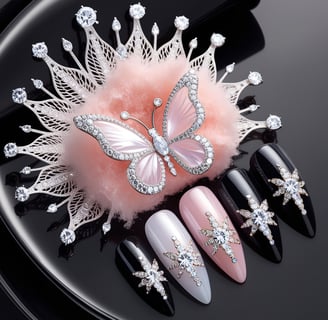
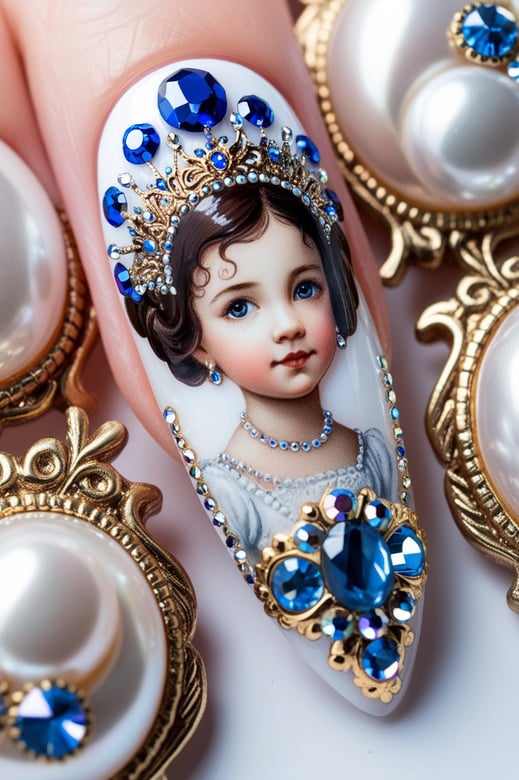
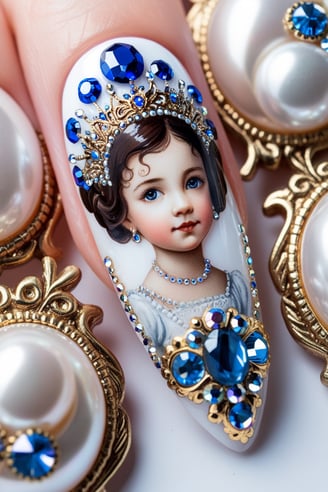
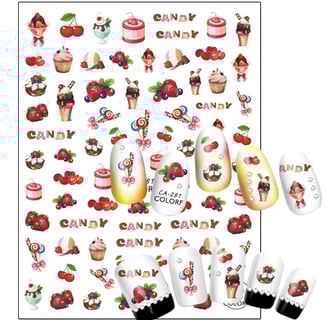
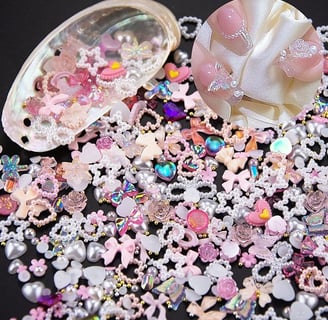
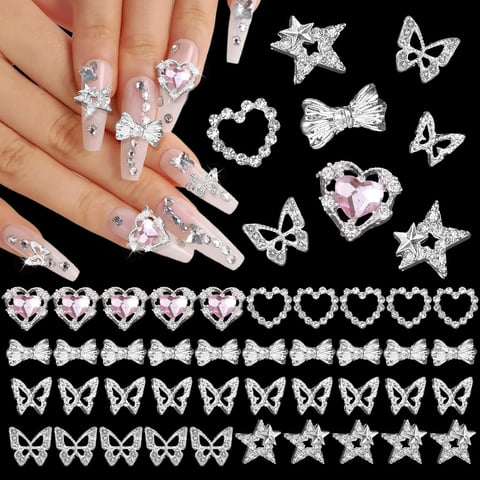
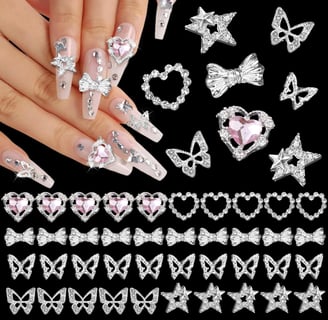
Nail design Ideas


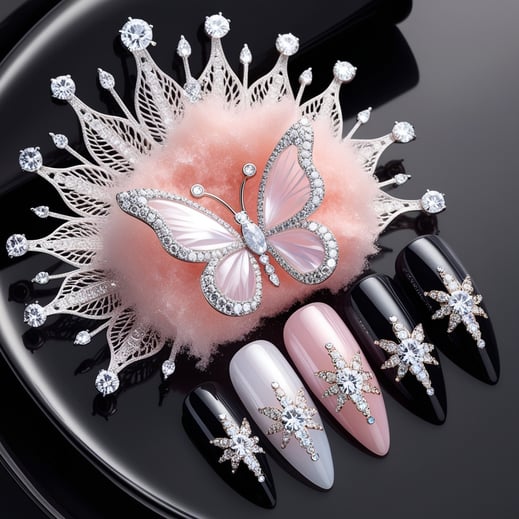


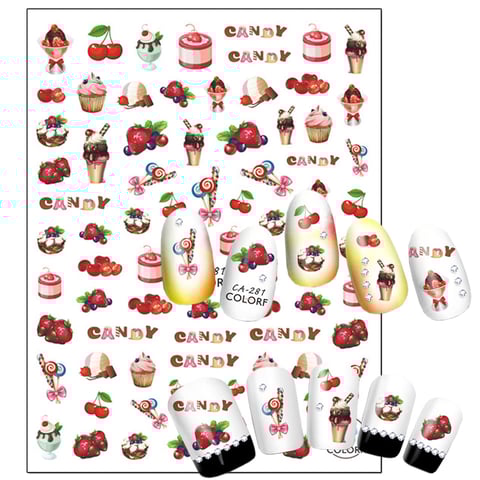
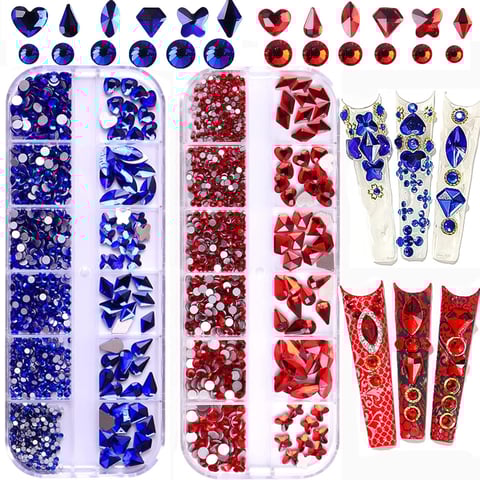
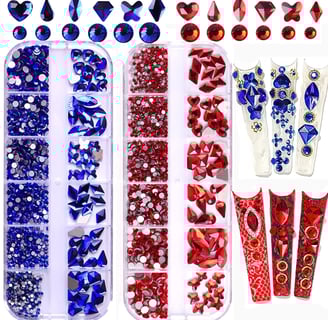
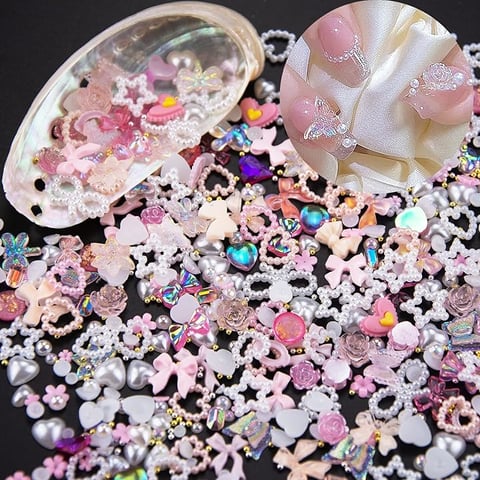
Nail accessories kit
Preparing Your Natural Nail for Polygel
Proper preparation of your natural nails is crucial for a successful Polygel application. Follow these steps to ensure your nails are ready:
Trim your nails: Start by trimming your natural nails to your desired length.
File the edges: Use a nail file to smooth out the edges of your nails.
Brush away dust: Remove any dust created by filing with a soft brush.
Clean your nails: Wipe your nails with an alcohol wipe to remove oils and impurities.
Push back cuticles: Gently push back your cuticles using a cuticle pusher and remove any excess skin near the nail bed.
Read More